
This term I have decided to have news groups, rather than whole class news sharing. I find that students standing in front of the class droning on and on can get a little tedious, plus I want some key students to develop new friends in the class. I still want one person from each group to report back to the class, but it might not necessarily be their news they report back on (thereby making it shorter and more concise). News groups it is.
Up until now they have been quite free form. We have enough things going on, without locking down our news groups. Now I am getting ready to tidy up the routines and get things really nailed down.
The first thing I have done is to decorate a tin can for each group. Getting crafty with the Modge Podge and wrapping paper has resulted in four tin cans (old tinned tomato cans collected by my students) ready to store the group necessities.
While they were drying, I created a table to track student roles. At the moment I want each group to have a leader and a reporter for each session, and for the roles to rotate around the group so that everybody gets a go. The idea is that every time a student gets a turn, a box gets ticked on the chart. This chart will be printed and mounted on cardboard, to be stored within the cans.
 Having a role to play in the group is special, but I wanted to make it extra special by creating badges for the leader and the reporter. I used http://bighugelabs.com/badge.php to create two 'badges' for the students to wear when it is their turn. I used MSWord clipart as the image. These would look great slipped in some of those plastic name tag holders. Since I don't have any of those, I will be laminating them, punching a hole in the top and threading a string through, for a lanyard-styled I.D. badge. Here are my badges:


Now I can't wait to start News on Monday (we only do News on Mondays and Thursdays, to keep it exciting).
Up until now they have been quite free form. We have enough things going on, without locking down our news groups. Now I am getting ready to tidy up the routines and get things really nailed down.
The first thing I have done is to decorate a tin can for each group. Getting crafty with the Modge Podge and wrapping paper has resulted in four tin cans (old tinned tomato cans collected by my students) ready to store the group necessities.
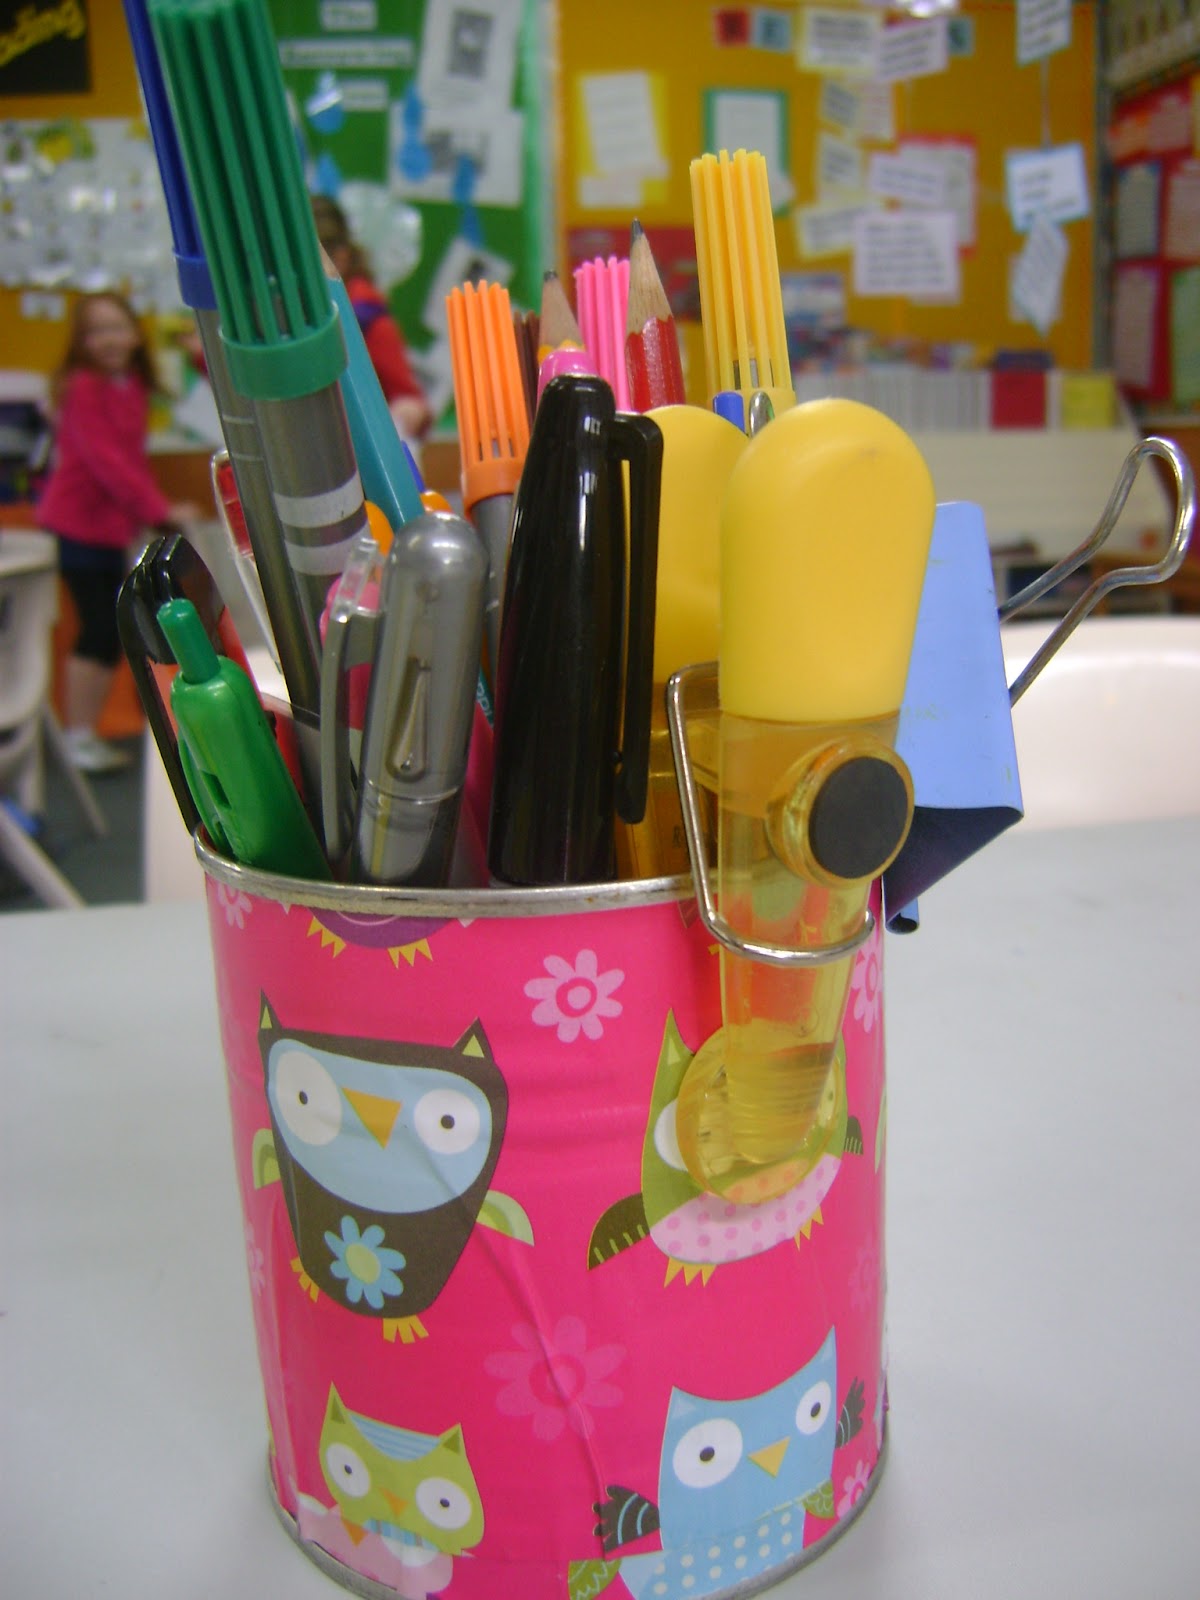 |
| Cans look similar to this but without the pens etc. |
While they were drying, I created a table to track student roles. At the moment I want each group to have a leader and a reporter for each session, and for the roles to rotate around the group so that everybody gets a go. The idea is that every time a student gets a turn, a box gets ticked on the chart. This chart will be printed and mounted on cardboard, to be stored within the cans.

Now I can't wait to start News on Monday (we only do News on Mondays and Thursdays, to keep it exciting).
Comments
Post a Comment